


As you play through the Renegades campaign in Destiny 2, you’ll reach the Fire and Ice mission, which has several steps to complete. One of these steps is called “Navigate the Ascendant Plane,” and it includes a long jumping puzzle that can be tricky to get through.
In this guide, I’ll walk you through exactly how to navigate the Ascendant Plane so you can easily progress in the Fire and Ice quest without getting stuck.
Start In The Ascendant Plane
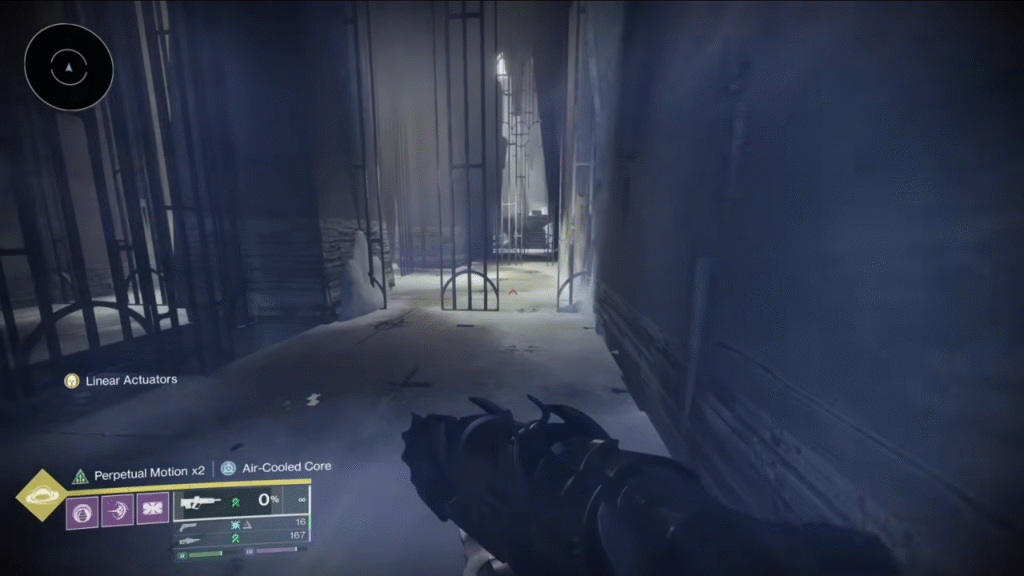
When you enter the Ascendant Plane, you’ll start in a room with dialogue. Allow it to finish before moving forward. Then head to the central pyramid-style pillar.
You can drop inside, but make sure to save some thrust or glide to maneuver toward the stairs at the bottom. Follow the path until you reach a wide-open chamber, where the core of the jumping puzzle begins.
Climb To The Outer Wall
Move along the ice path toward the big open arena. Look for rocks that let you climb up the outer wall. Jump from rock to ledge until you are walking on a narrow wall path above the ground.
Keep moving toward the middle while watching for barriers and “blasters” that try to shove you off the edge.
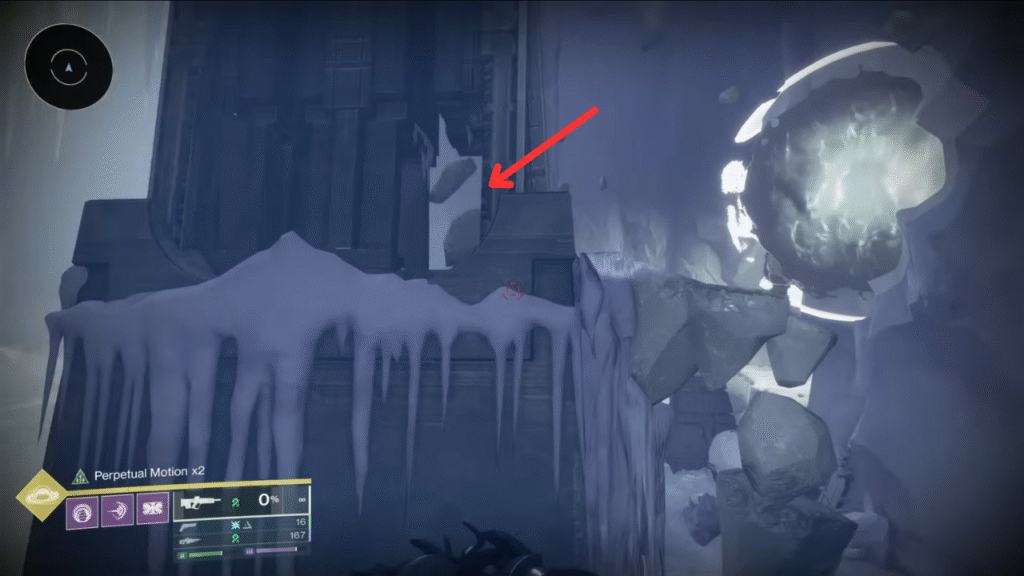
Follow The Lights Along The Ledge
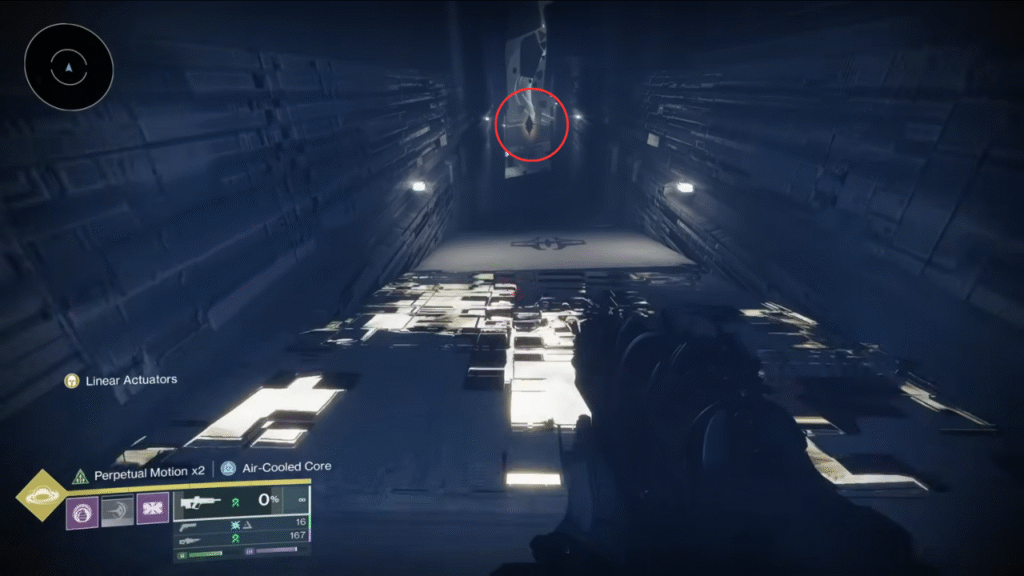
As you hug the wall, you will pass a bright light, then see a second one near a corner. At that second light, stand on the very edge, stand up from crouch, and glide up and around the corner to a higher ledge.
Land on the nearby rock and climb to the next level of the wall. Ignore extra platforms with nothing on them and keep heading toward the center.
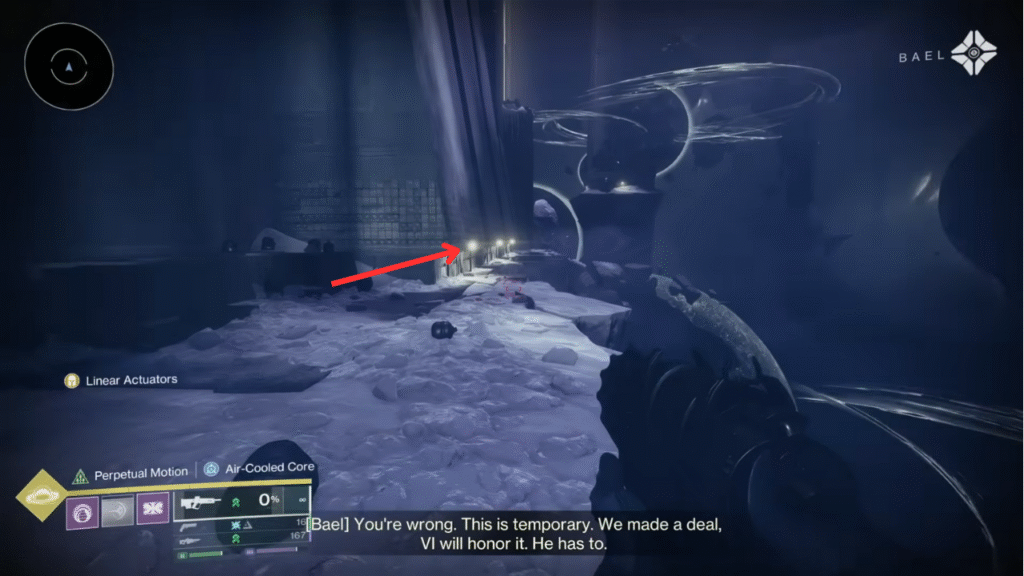
Find The Side Tunnel
Before you reach the very center wall, look for a turn on the right and take that tunnel instead. Inside, some walls are fake: hit them with melee to break them and reveal paths.
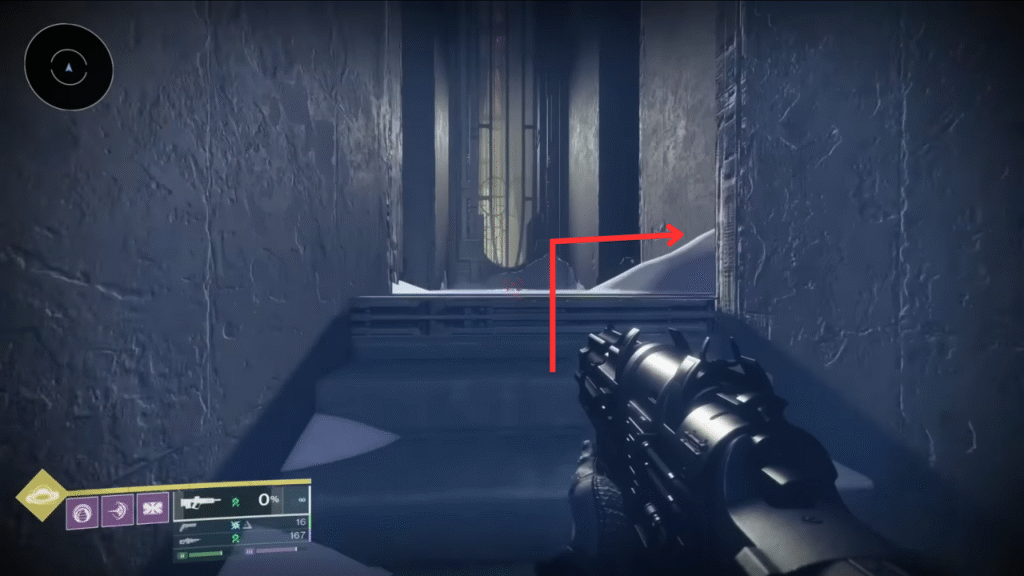
If the first loop drops you back at the start, that is fine. On your return, look right again for the hallway where pillars slam out as traps and head that way.
Use The Moving Pillars
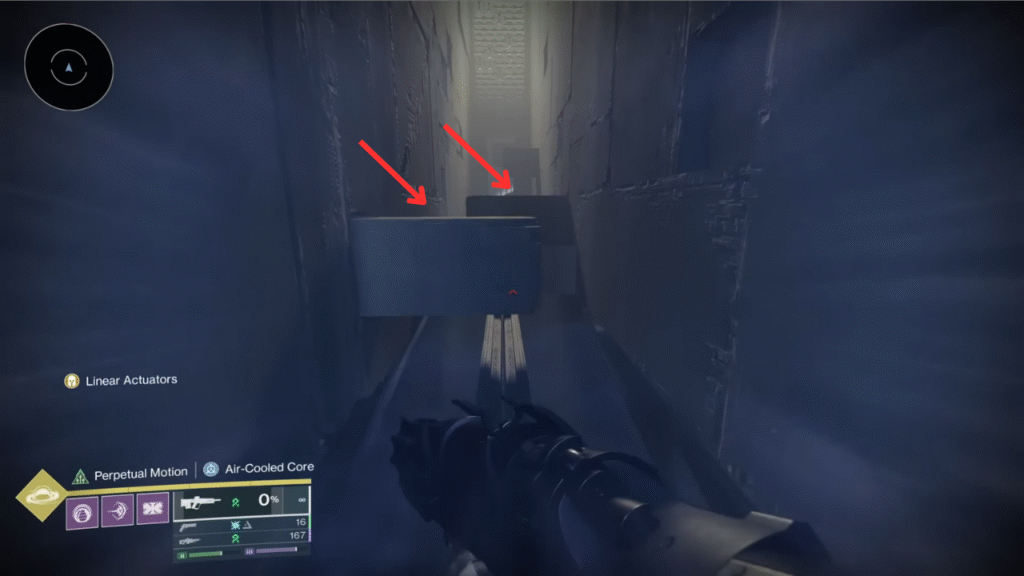
Run through that hallway and trigger the pillars, but avoid a trap floor at the end that drops you. When you return, those pillars stay out and act as platforms you can jump on to climb higher.
Keep riding them up, then head into the tight slot in the wall and crouch or slide into the small maze-like hallway beyond.
Solving Falling Floor Room Puzzle
Go left into a room where the floor tiles fall away when you step on them. Doors and wall gaps also lock when you get too close, blocking paths.
Use jumps, glides, or other movement skills to stay in the air as much as possible while you “tag” tiles and doors to trigger them. You need to double back between the two small rooms, opening walls and floors until the exit lines up, while tiles slowly respawn if you stay airborne.
After the maze, you’ll find a door in the bottom-right corner—this acts as a checkpoint. At the end of the room, there’s a prism you must shoot to continue the mission.
Follow The Blasters Outside
From the prism room, head left across the ledges and rocks. Find and kill a hobgoblin hiding in a corner—it hints at the right path. Rest on nearby stone steps that stay safe.
Then follow the line of blaster vents along the rocks. Clear enemies near each vent to avoid being knocked off. From a ridge, spot another blaster on a rock across from you and jump to it.
Ride The Tunnel And Reach The Top
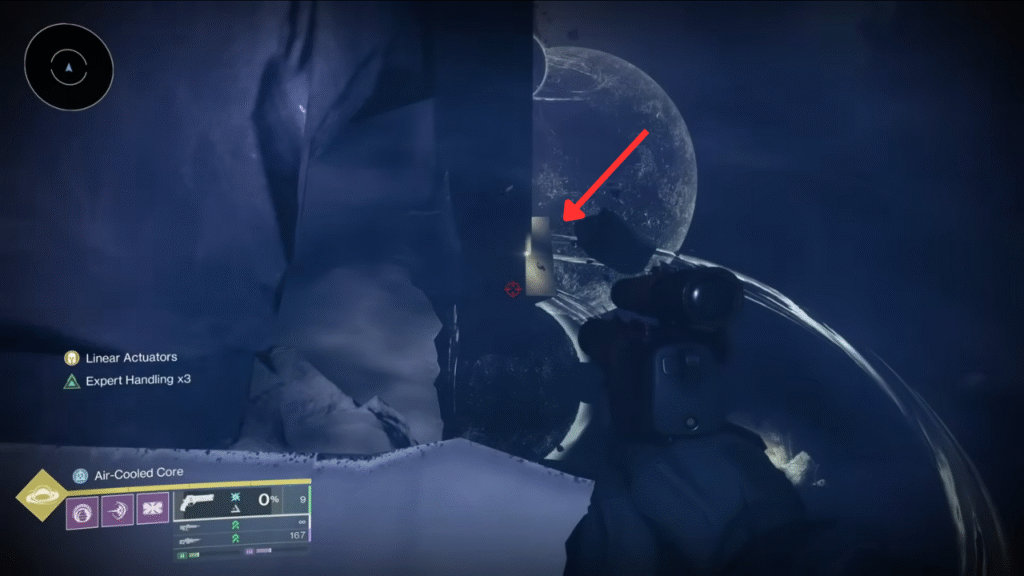
Look down from that rock and find a doorway marked by a bright light, which points to the tunnel you need. Drop toward that lit opening and move into the tunnel filled with more blasters.
Ride them carefully, letting them throw you upward from ledge to ledge until you reach the top of the shaft. When you exit at the top, jump to a nearby outer rock ledge that sticks out from the wall.
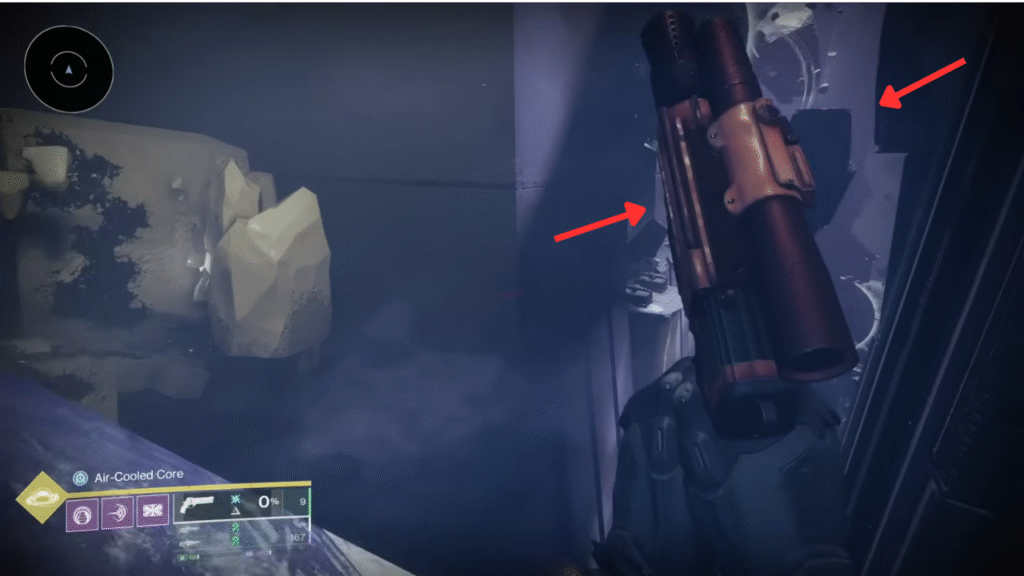
From the outer rock, jump left, then curve hard right to a hidden, tiny platform. Spot the wall window—jump through if needed. Follow the short platforms to the final ledge.
Interact with the object there to finish the Ascendant Plane navigation step of the Fire and Ice mission. You can now continue to the next section of the quest.